
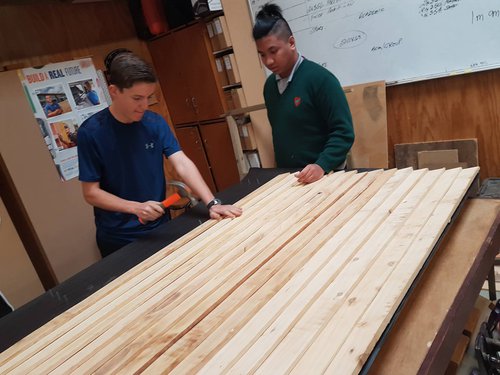
This week we applied the weatherboards to the wall frames.
To do this we nailed weatherboards onto the frame. To make the angle for the weatherboard we cut a thin strip of timber and nailed it to the bottom of the frame but before that we used a long timber that has the measurement of the distance of where to put the nails.
(which you can see here)
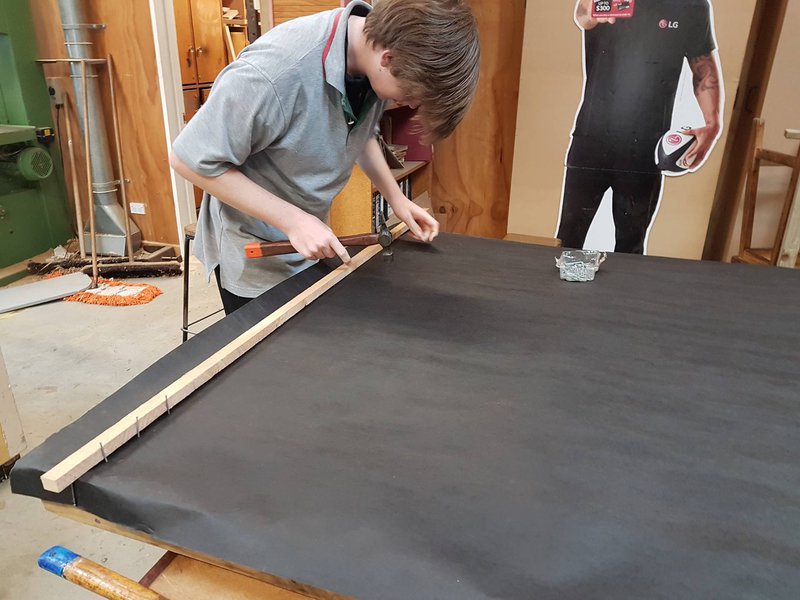
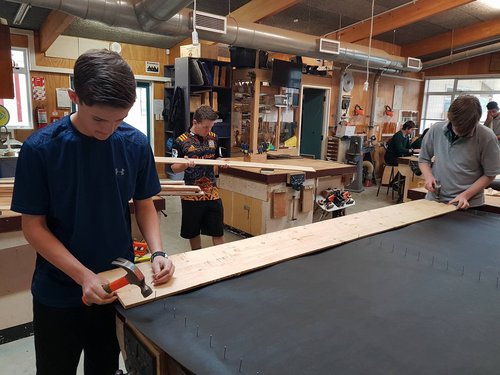
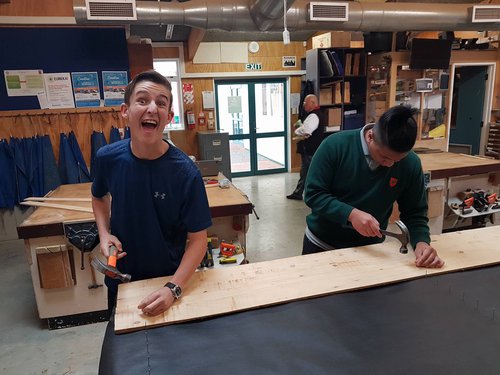

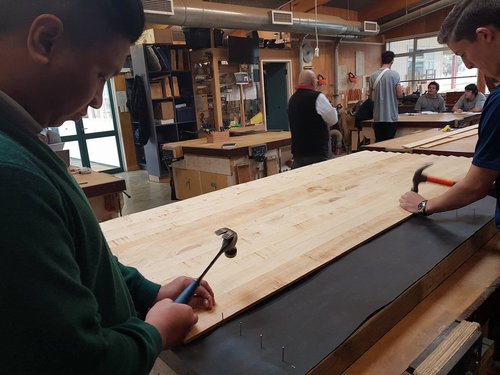
This mean when we applied the weatherboard to the frame it had the proper angle. We set up the weatherboard by starting from the bottom and work/nailing up. We had to put in all the weatherboards inline and once they were in the right paces we nailed them on. We made sure all the nails were in the same line. We put the nails in, 15 mm from the start of the weatherboard/we made a 15 mm overlap. We made sure they were nailed a certain way so that we could take the boards of easily, without them breaking/ it allowed the boards to slide off so that they could be easily replaced.
also as we got to the middle of the wall frame we change side to make it easier for us to hammer the nails. (p.s. i accidentally uploaded the same photo)

If you're considering a career in building and construction, create a BCITO work profile. We'll do our best to get you an apprenticeship when you're finished school.