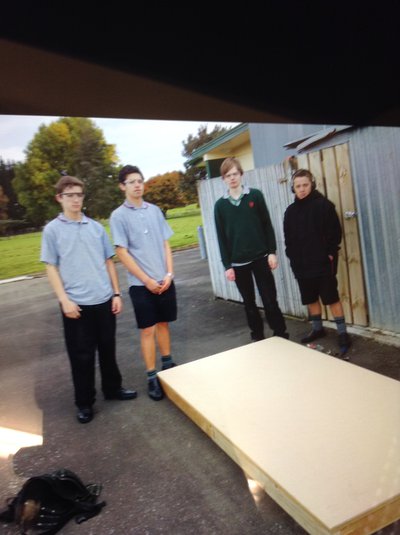
Week 2 As the week started we discuss what to do and who will do it.
The plan for this week is to make the foundation floor of the project.
The material we ordered came at 2.4m x 1.2m particleboard. We then started cutting the frame,
2 bits of wood to 2.4m x 100mm x 50mm long 5 bits for the joists to 1.1m x 100mm x 50mm.
2 out of the 5, 1.2m x 100mm x 50mm were used as joists.
We then cut the bearers 2.4m x 100mm x 100mm to support the joists
We then nailed all pieces together to form the foundation.
We did this by measuring them out with a tape, and squaring them. We measured the full length of the of the side joists, and equally spacing the other joists, in between them.
Once we found out were each joist was going to go, we hammered them together to make the start of the frame.
After that we hammered the faces of the frames onto the frame until it looked like this image
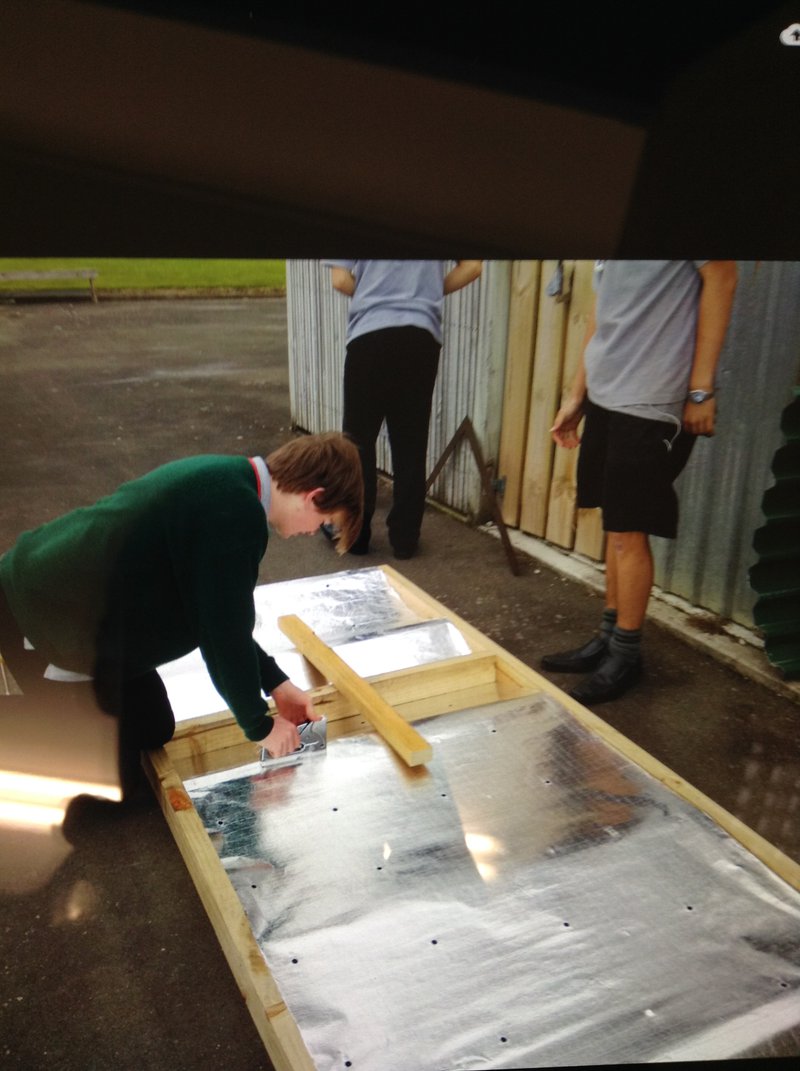
Once the frame was made we attached the sisalation
To apply this to the frame we placed it over the frame and measured how much we would need. We put the sisalation in between the side joists and because it was too wide we cut it with a crafting knife so it was the right width.
We then made a tool to help us make the sisalation gaps
We stapled the sisalation to one end then put the tool on top of the sisalation gap so that it would be correct.
Once the tool was placed onto the gap with the sisalation uderneath we stapled it to the next joist.
We continued this process until we reached the last joist and when were were at that point we cut the end of the sisalation, so that it fit properly(not too big).
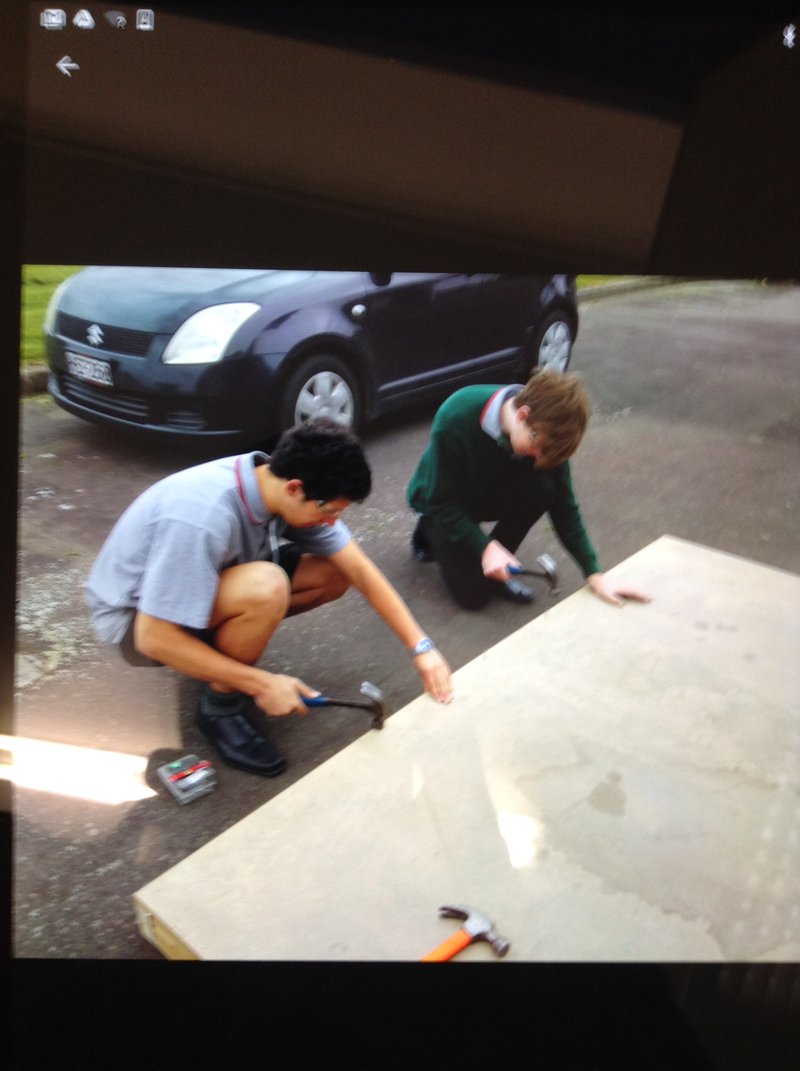
Once the simulation was done we nailed the floor on
We then stored our floor in a dry place
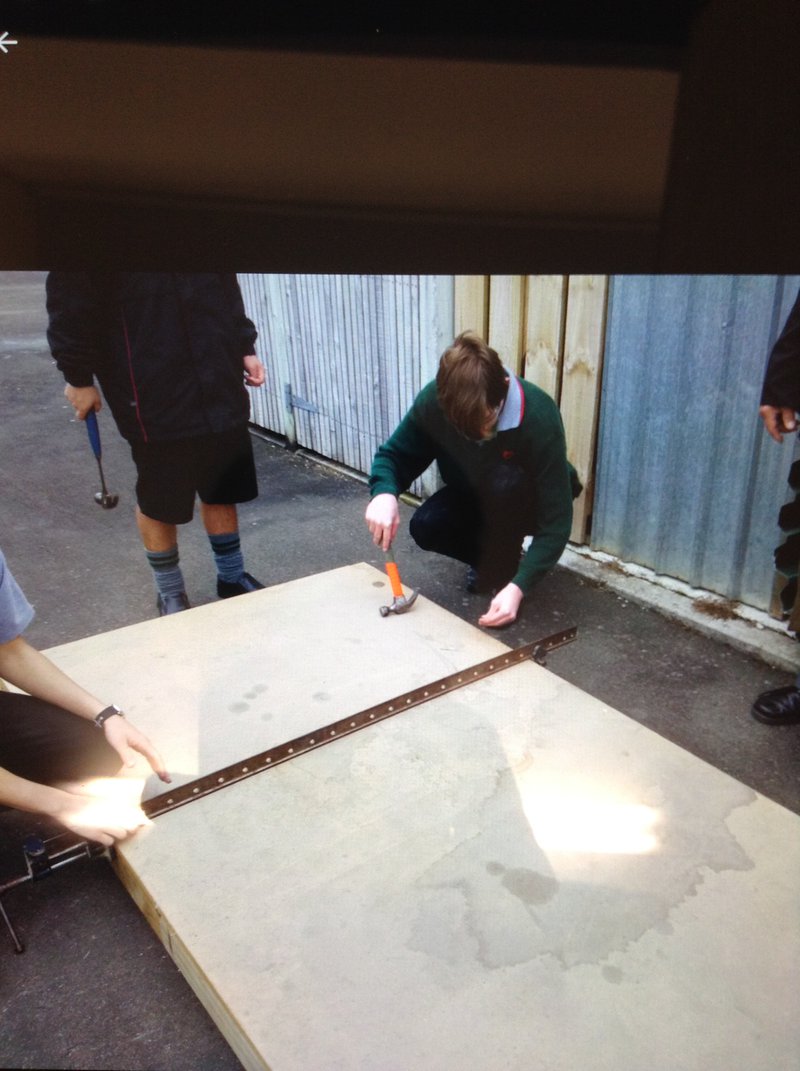
In the image below, the sides of the frame went lining up correctly so we used a clamp on the timber and brought it in closer to make it inline with the floor. Then hen we hammered it on the frame fit the floor perfectly.
In the image below we are applying the sisalation to the frame
This image shows how we started to hammer the floor to the frame

If you're considering a career in building and construction, create a BCITO work profile. We'll do our best to get you an apprenticeship when you're finished school.