Week 6
This week we were working on the roof framing, dormers, and weatherboarding the front of the play house.
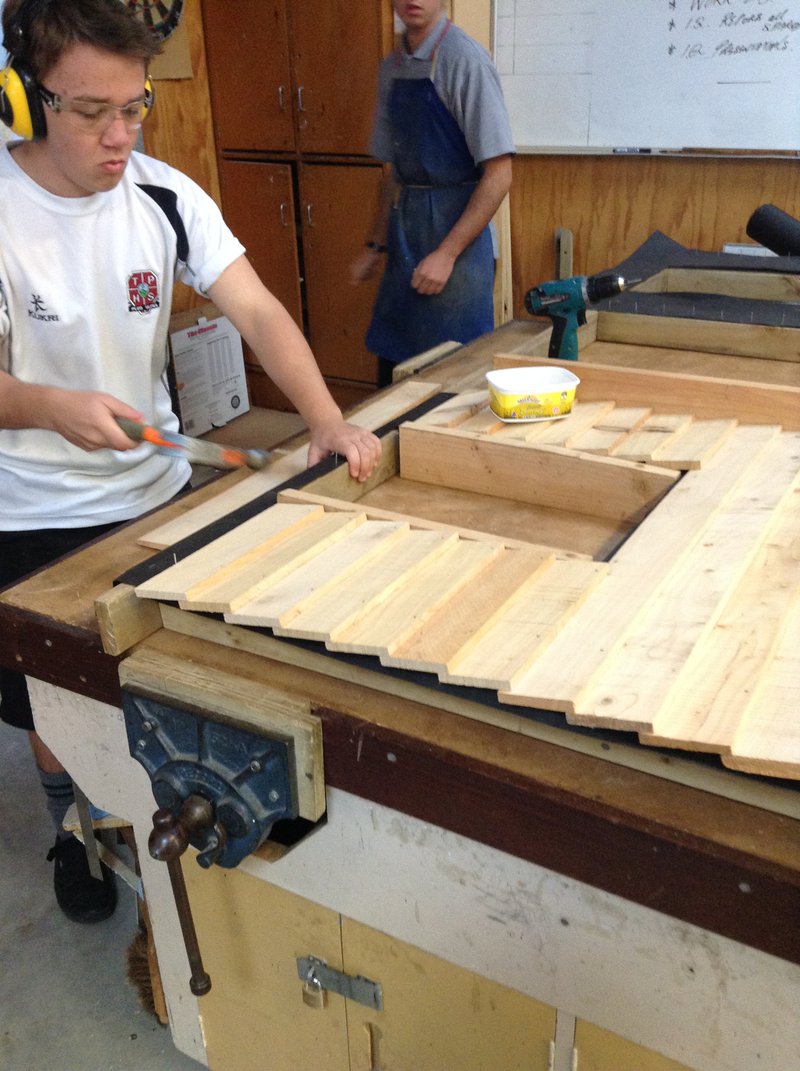
We nailed the weatherboards to the front wall frame. To do this we had to consider were the door was so and used smaller boards for each side. We tacked a long board onto the inside of the doors location so we could nail the weatherboards on straight and so we didn't lap the boards over the door. We also did this on the inside of the windows so the weatherboards didn't go over the windows location. We started on the left side and bordered our way up until we got to the window. Then we used smaller pieces on each side of the window, so that it could also fit together.
(weatherboard front of house photo)

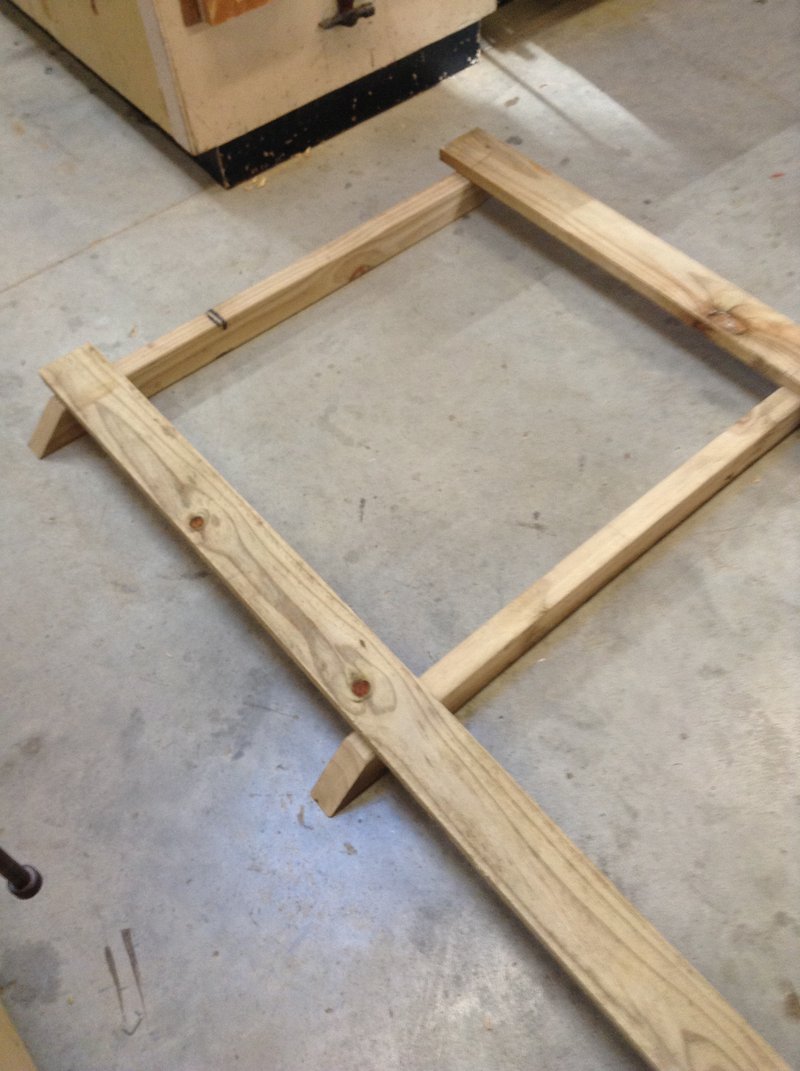
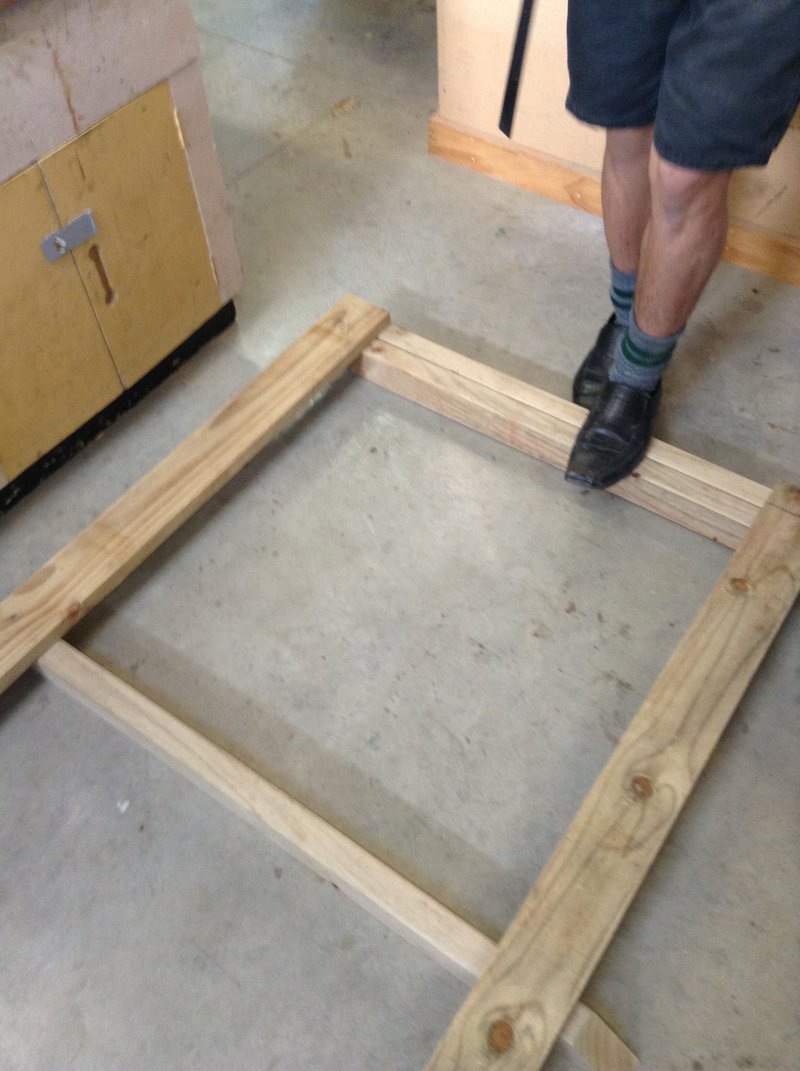
We also worked on making the roof frame. We built the front of the roof frame which includes the two dormers/windows. We included a spaces for the dormers shown below
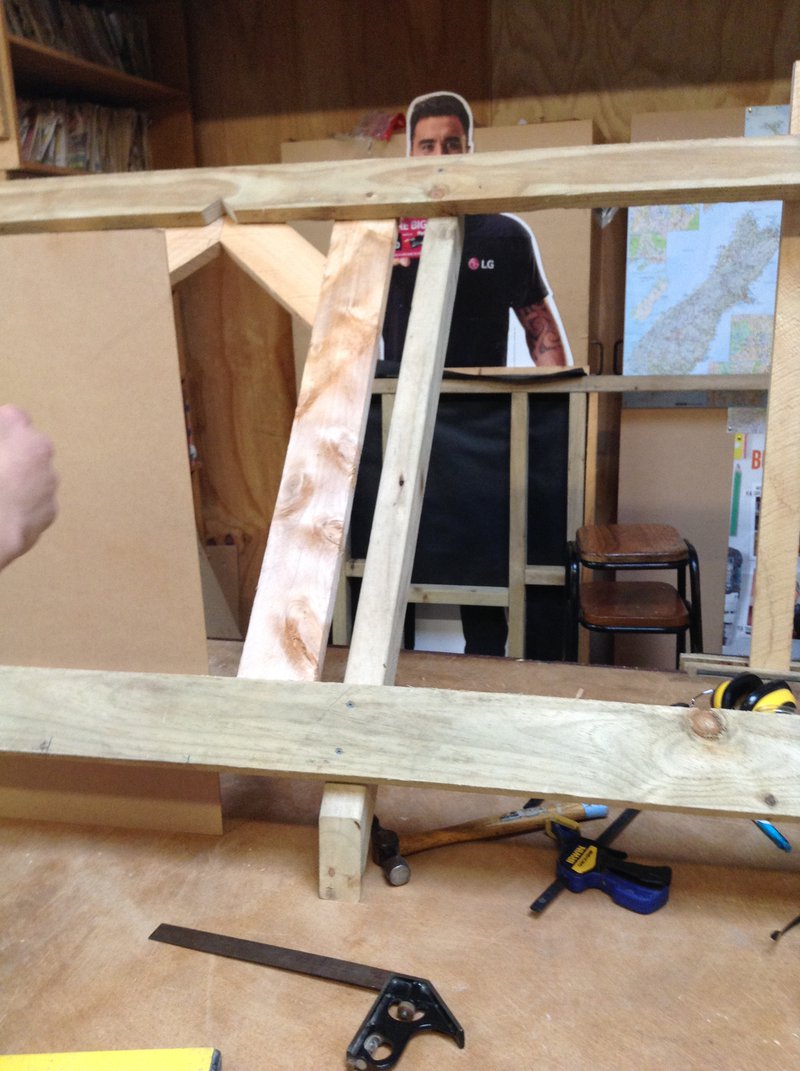
We also made a start on the preparation of making the dormers and the construction of them after planing. We measured the size of the dormer based on the gap in the frame. We got a board that was the same height of gap/dormer space and placed the proof and the angle it is going to be and out the board straight up to check if it was the right size. Shown above
Once this was found we drew on the board to figure out where all the timber would go, shown below
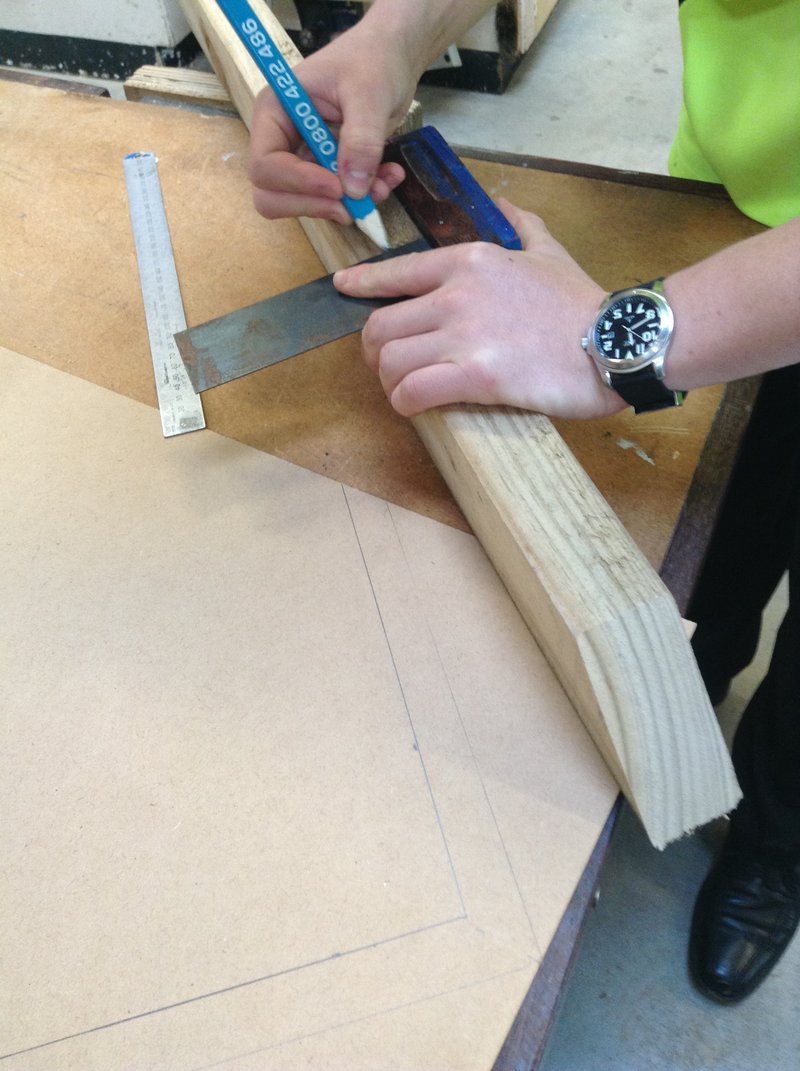
roof construction photos
In the following week we will build the dormers to completion.

If you're considering a career in building and construction, create a BCITO work profile. We'll do our best to get you an apprenticeship when you're finished school.