
Week 7
Windows jambs facings, frames, purlins
This week we were working on the dormers, purlins and jambs.
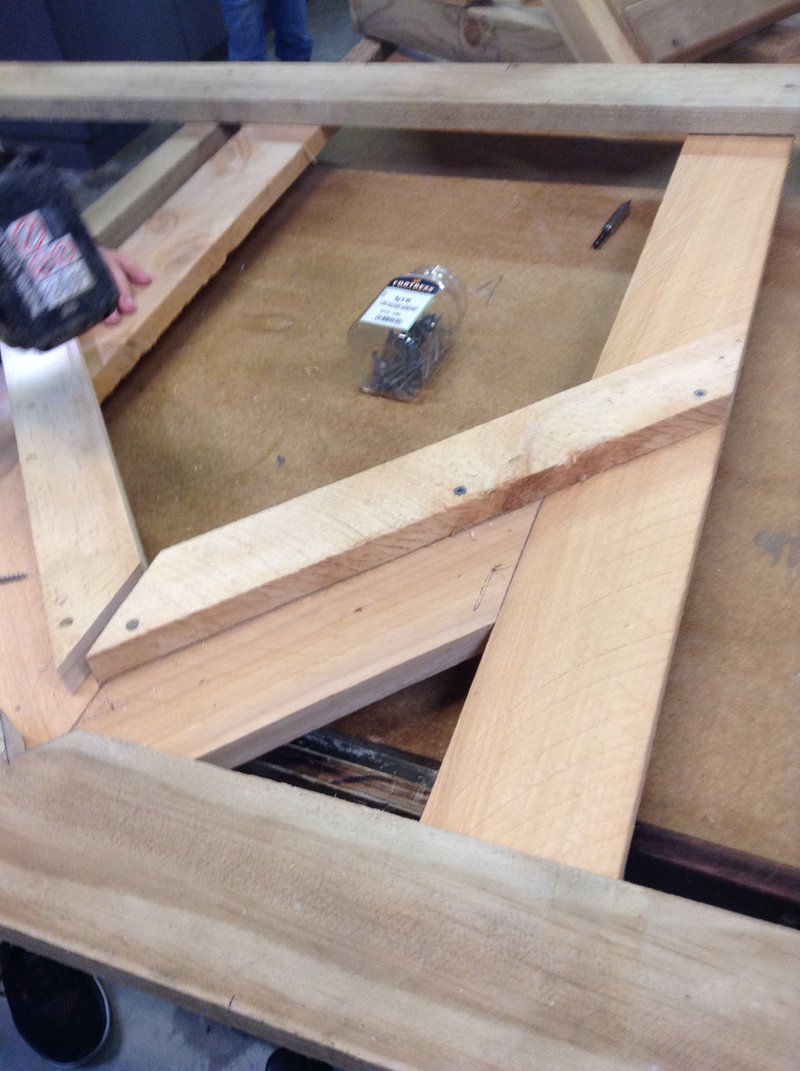
We were also working on the dormer construction. We cut all of the pieces to length and set them out on top of the board and made sure that they fit together to make the correct shape, and in the correct locations to be strong. We also cut double the amount we need for the dormer because we were making two dormers. Once we fitted the base of the dormer together we repeated the process and fitted the second one together as well. We then continued to put the dormers together and made sure the timber was set at the right angles, so that the dormer could be straight. When both dormers were completed we attached them to the roof. Dormers seen below

Purlin frames for the dormers: We marked out where the purlins would be and cut some of the timber to length. We cut them at angles so they could fit into the space/the frame. This makes the dormer sit on the roof correctly. The way we did this was to make the purlins hidden when the dormer gets put on. We screwed these onto timber.
Seen below
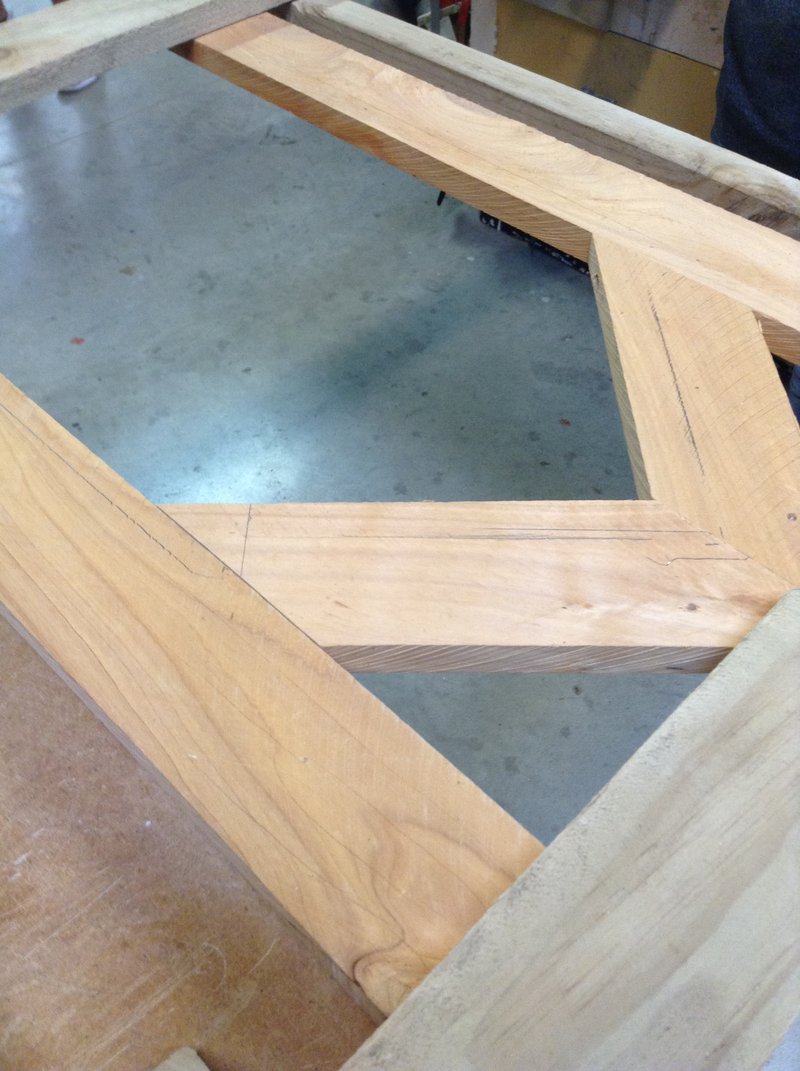
this is the space in which the dormer will go
We needed to make these for each window so that the dormers had something to attach to. They are needed because if you didn't have them the dormers would be floating in the air. The frames provide good support and make the location for the dormers strong.
For the jambs:
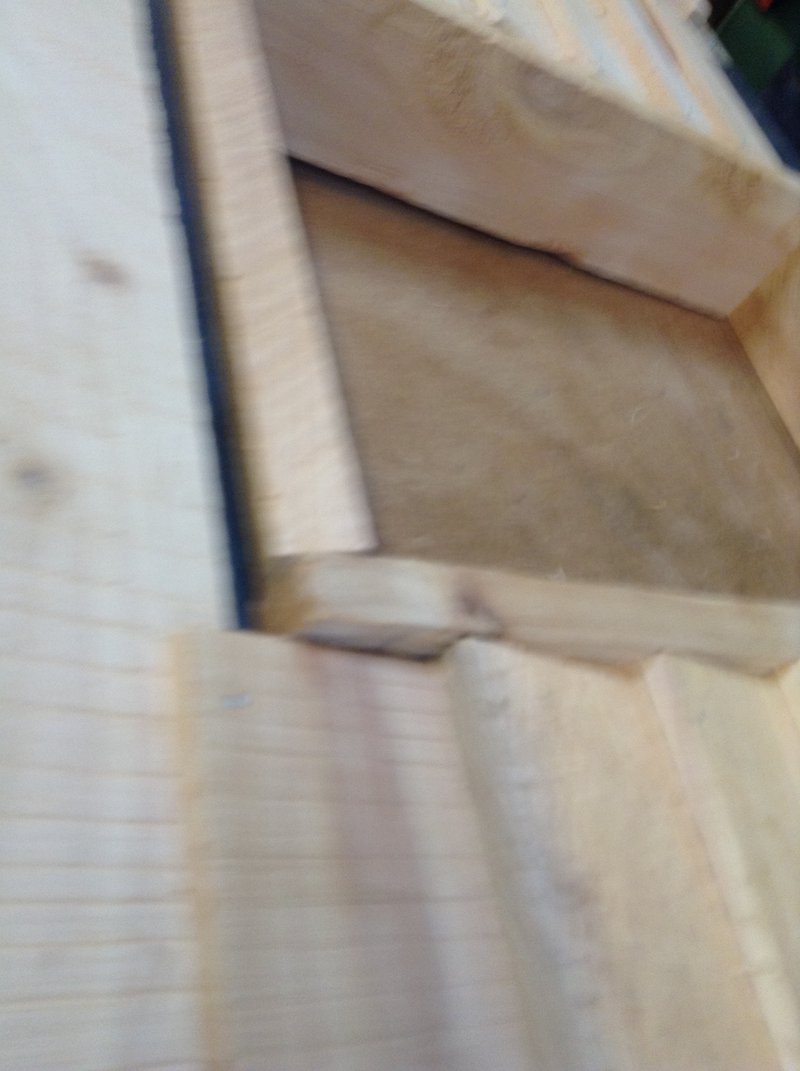
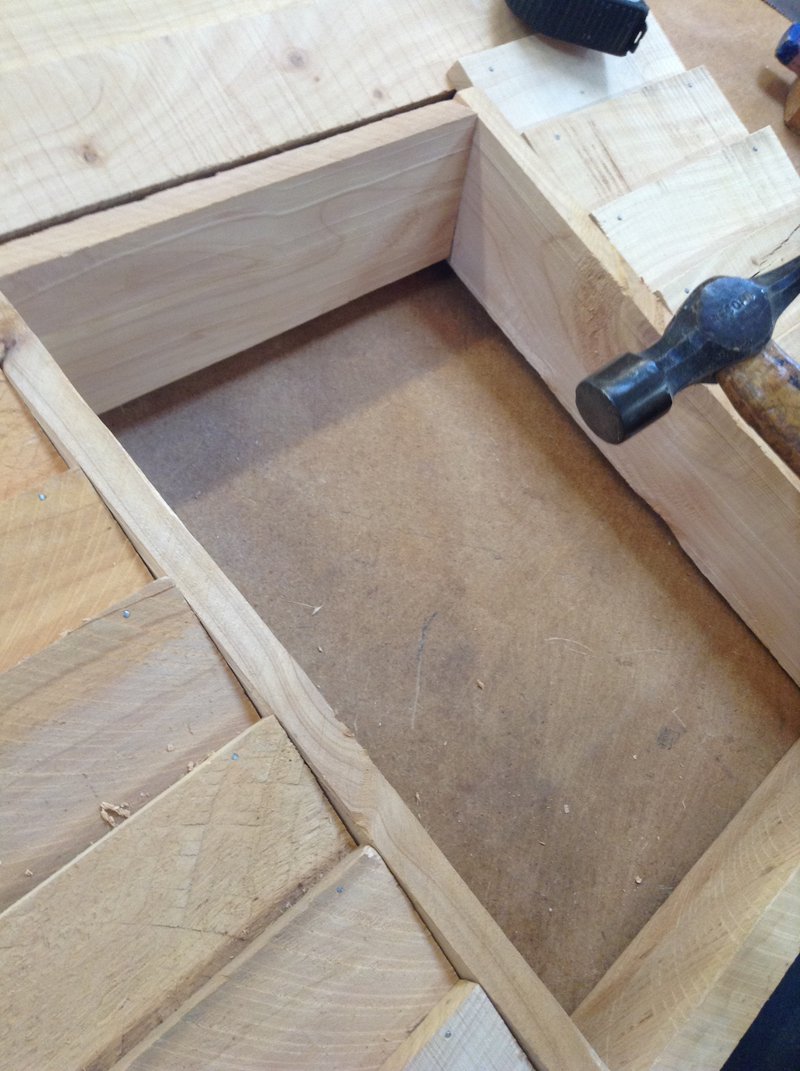
For the window jambs we measured the inside of the windows. Once we had that length we cut two boards to its height and 2 boards to its width minus the width of the previous two boards. We did this because we wanted the top and bottom board to fit in between the side boards. The top was hammered in between normally but the bottom was placed in on an angle.
Seen below
We had to swap some things around to because we couldn't do the facings until the window and dormers were completed. So what we have done was that we swapped the purlins job with the facings because we needed to complete the other tasks first. We didn't see this coming but now we don't and we believe that it is a great learning curve for the group. We think this because it has taught us about the order of construction and by doing future tasks now it makes sure everybody has something to do and we can always be busy.

If you're considering a career in building and construction, create a BCITO work profile. We'll do our best to get you an apprenticeship when you're finished school.