This week we focused on finishing the window frames for the front and the roof. We also fully finished the flashings from the roof and made the sides of the dormer and weatherboards for them . We also started to put iron onto the roof and measure it all out correctly.
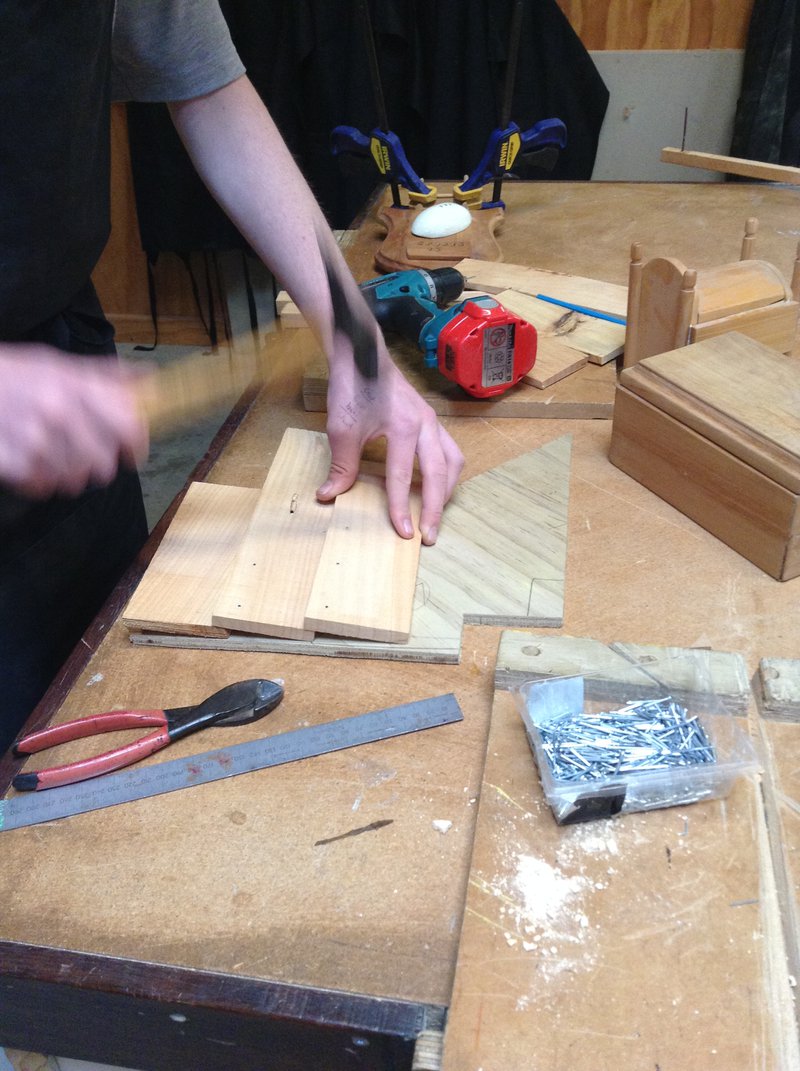
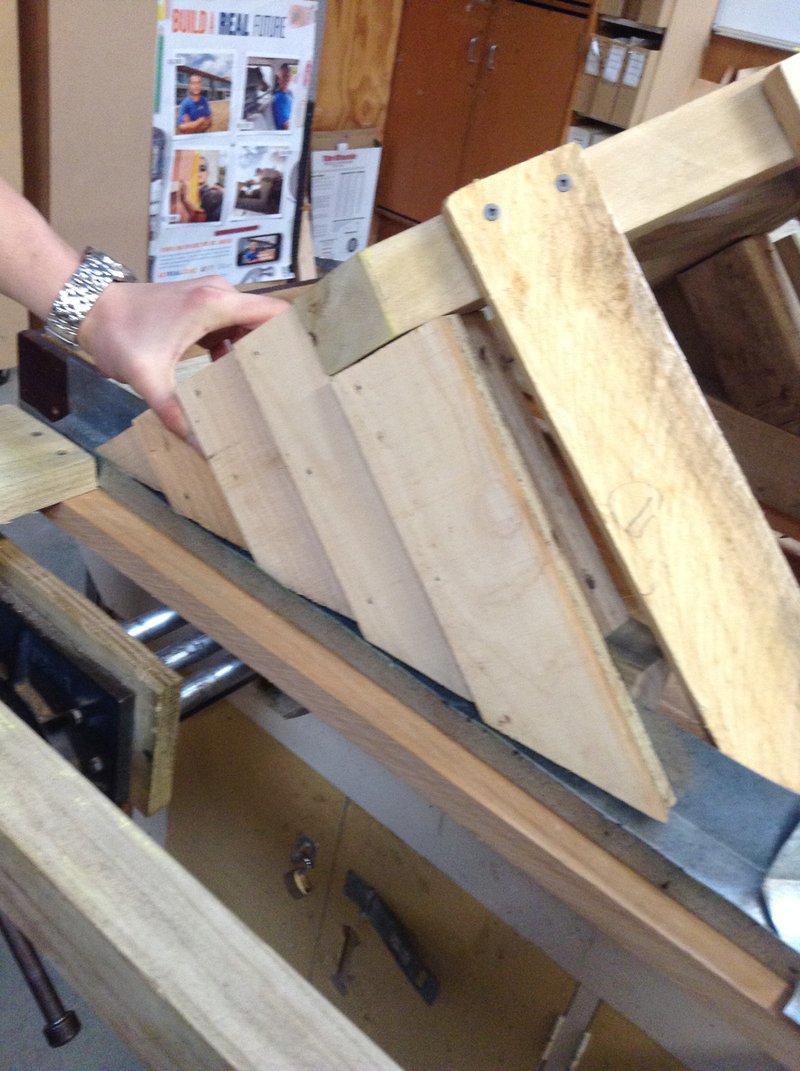
We made the sides of the dormers. First we cut out a triangular type shape that fit the space needed seen below.

We cut 4 of these one for each side. Then we made weatherboards for them and nailed them on square seen below.
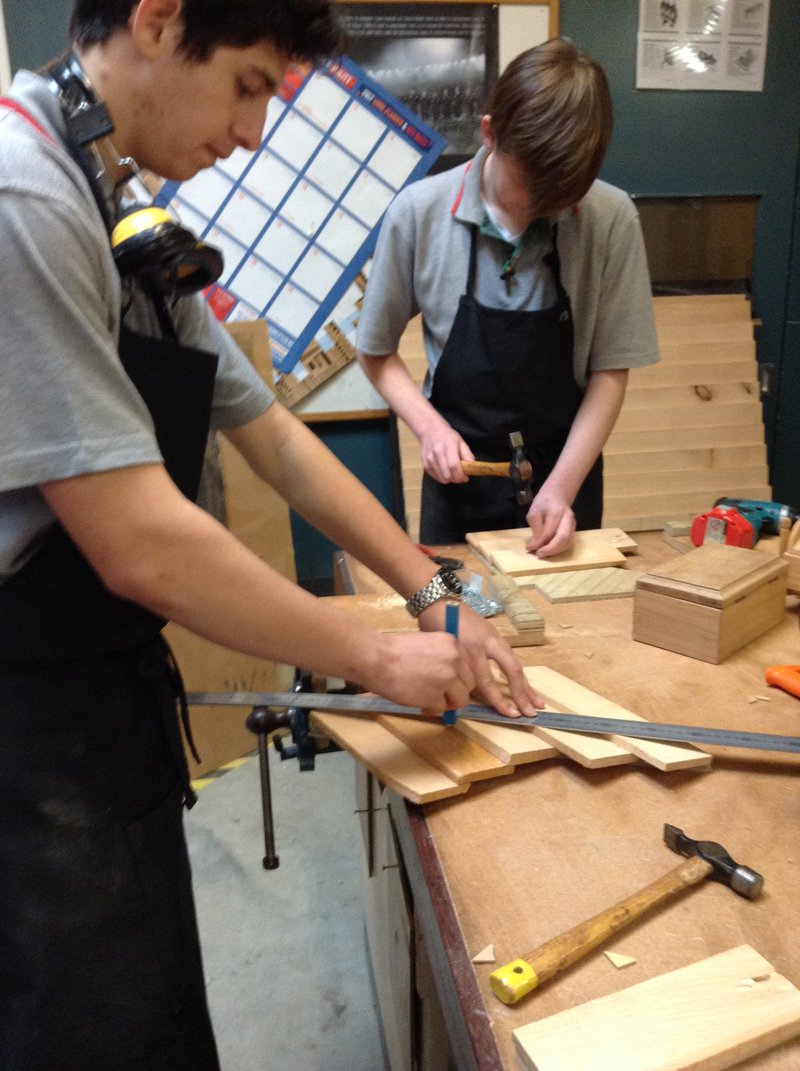
Once all the weatherboards were attached we marked an angle line the timber corner to corner, along the longest side. Seen below
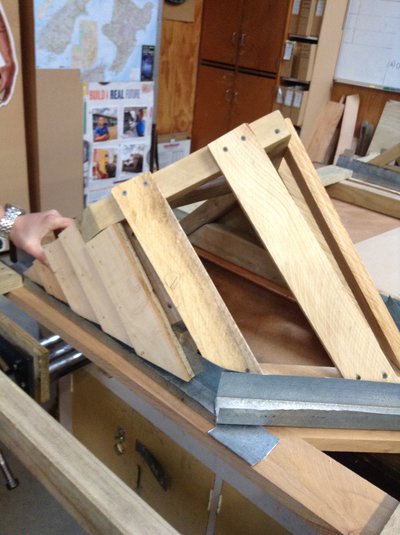
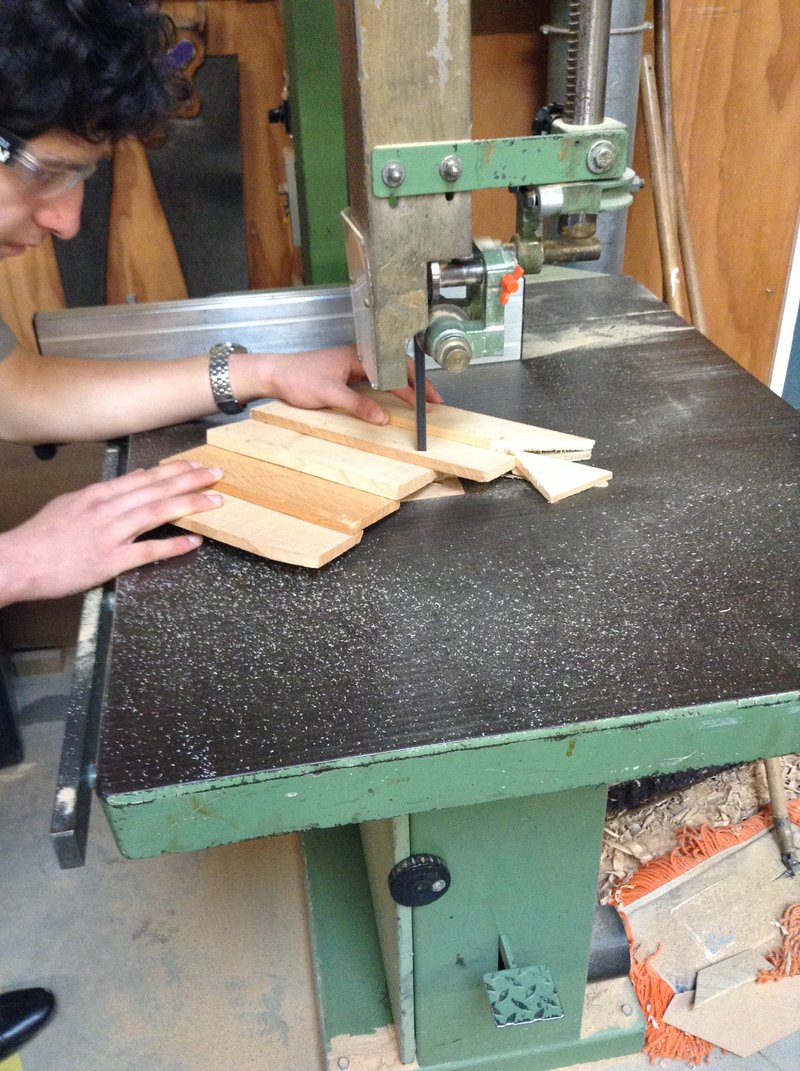
we cut the access timber of in a line(edge to edge) on the bandsaw, so that it fit onto the triangular base,seen below.
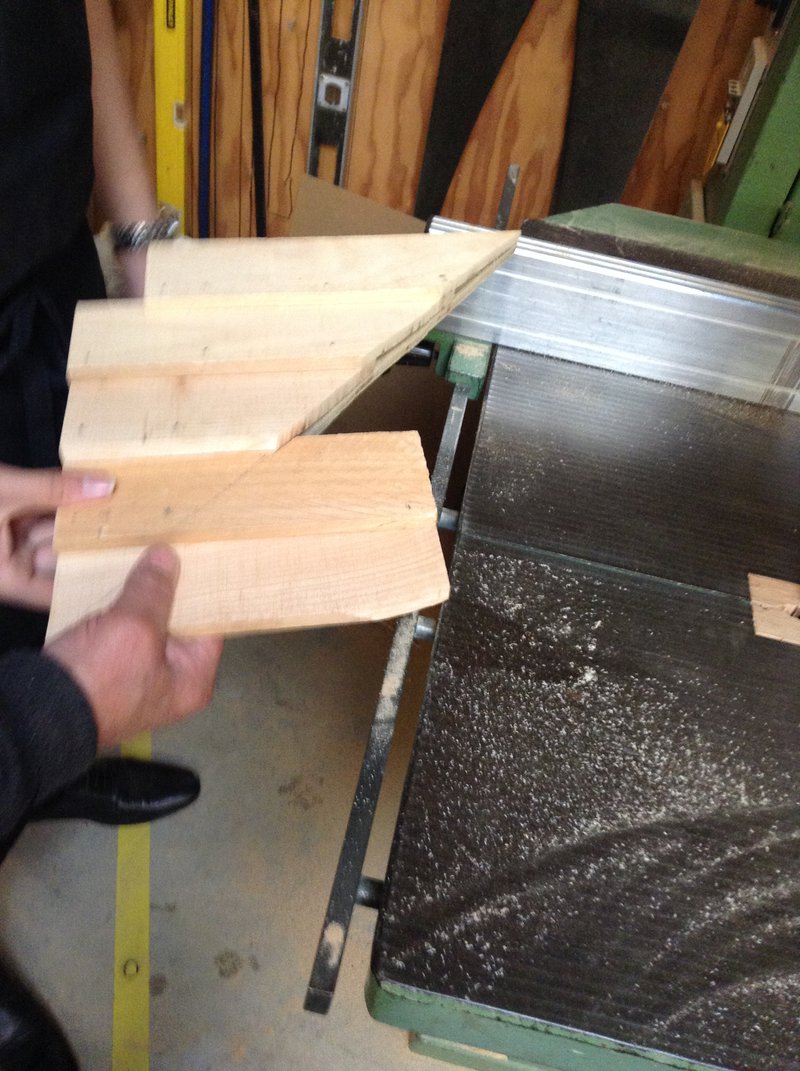
Here you can see the sides fitting perfectly onto the dormers. This was done for times(4 sides)
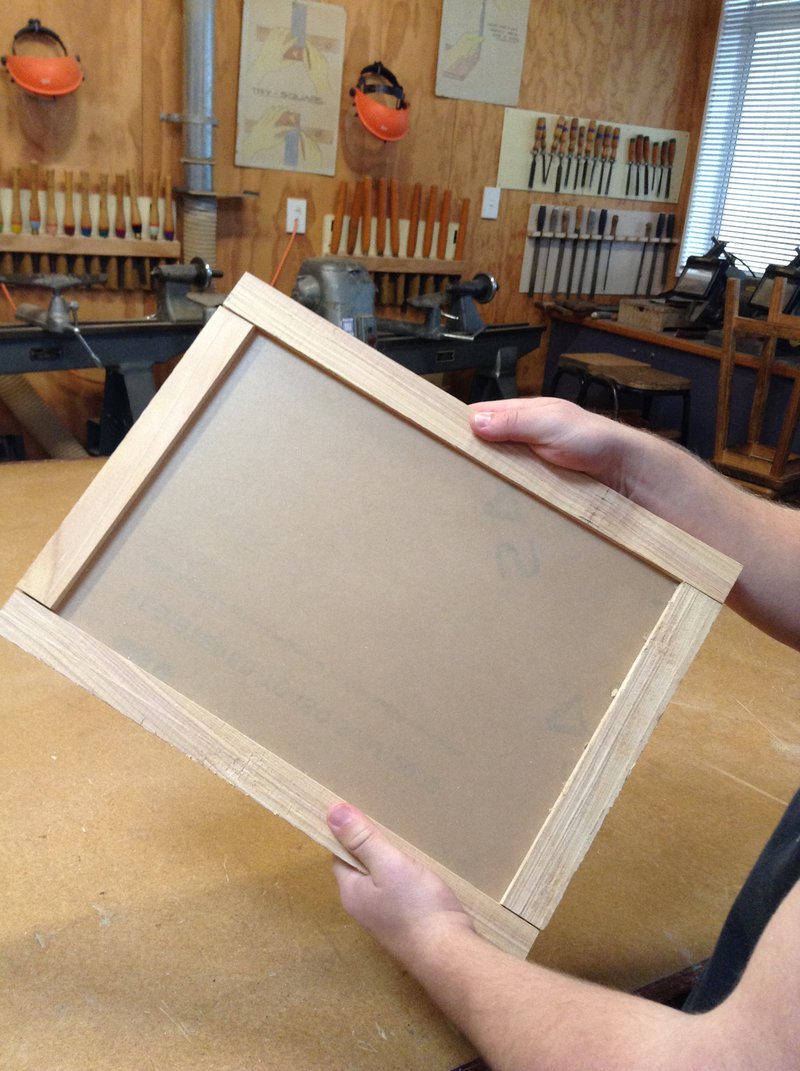
We also finished making the frames for the windows. To make this we used the sizes of the window hoeld to get the measurements for the frame. Once we had this we cut the frames to the size (using the timber we cut cut spaces in the middle)and used lap joints to connect them. We then fitted the frame together to test if it was the right size, and it was. We made 2 frames at the window sizes. Once that was done we got a sheet of plastic and marked out the size. When we first tried this the plastic was slightly too big so we used a steel rule as a plane to cut some of the distance down, so that it could fit perfectly. Once the plastic was fitted into the frames correctly we glued the lap part of the frame. Part finished frame seen below
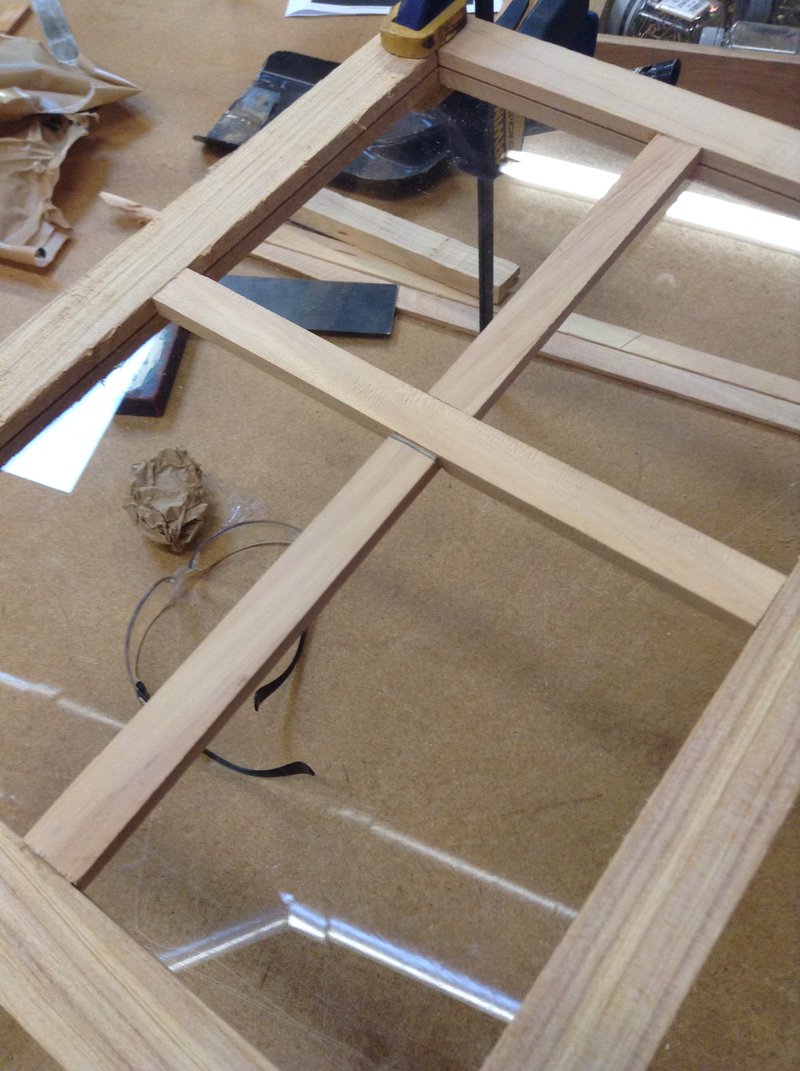
Once the frame was completed we constructed the t shape for the middle of it. To do this we found the center points of each side of the frame and marked out where the t would go. Once this was found we cut the timber a length that it would fit in between the frame. Then we put each in the frame inline with the marks made previously and marked on the t timber were they would overlap. Once we found this out we cut out the middles so that they could fit together flat on the frame. We did this for all windows. Window with the t finished below
For the dormer windows we did the same things but with different sizes
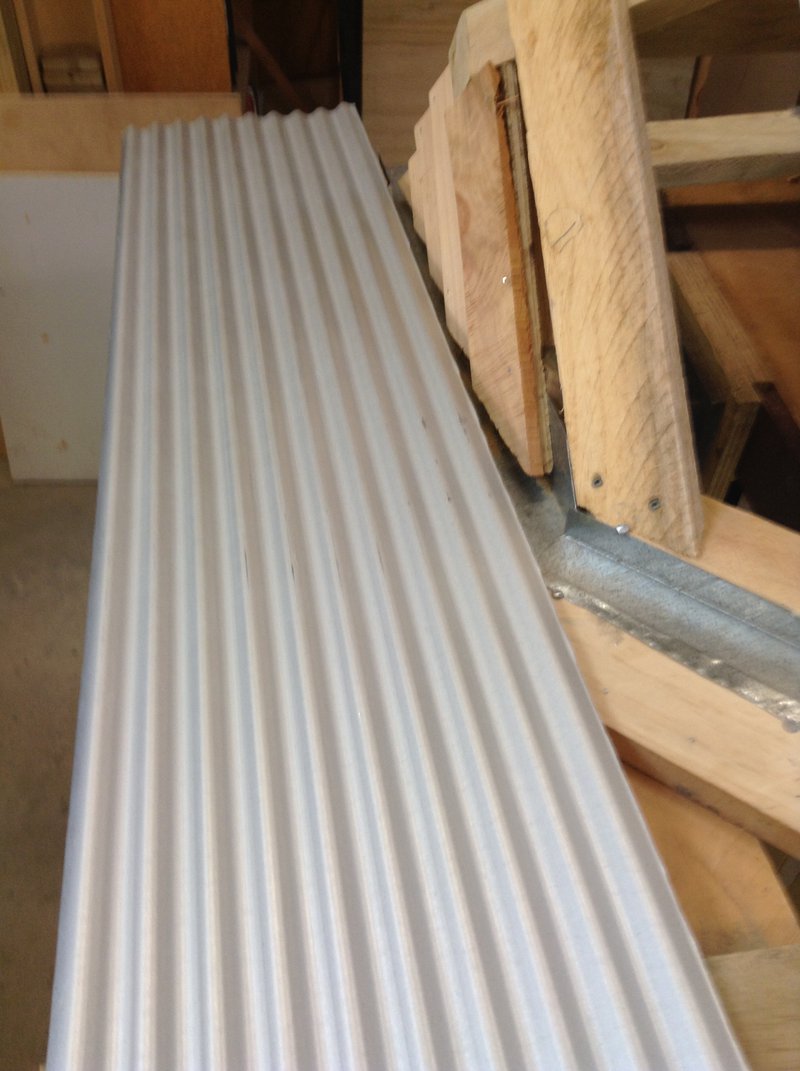
The final thing we did this week was that we cut the iron to length for the roof, seen below.

If you're considering a career in building and construction, create a BCITO work profile. We'll do our best to get you an apprenticeship when you're finished school.