
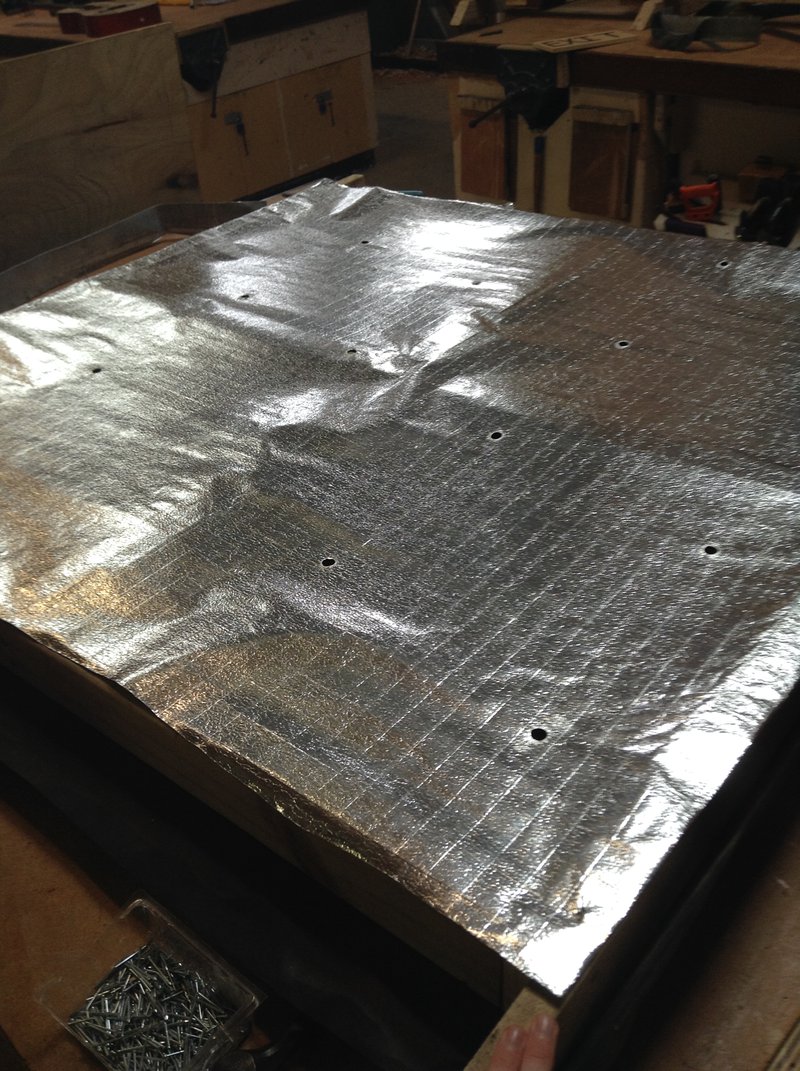
This week we decided to finish of the walls and get them insulated. Also by finishing the walls it's going to be a weight of our shoulders and once they are done we can start putting it together. First we insulated the walls by putting on building paper and then sisalation. To do this we unrolled it onto the wall and sliced the side with a crafting knife so that it fit and as a result it fit to perfection. When it all signed up and fit onto the wall we stamped it on so that it wouldn't fall off.
Image of the sisalation on wall seen below
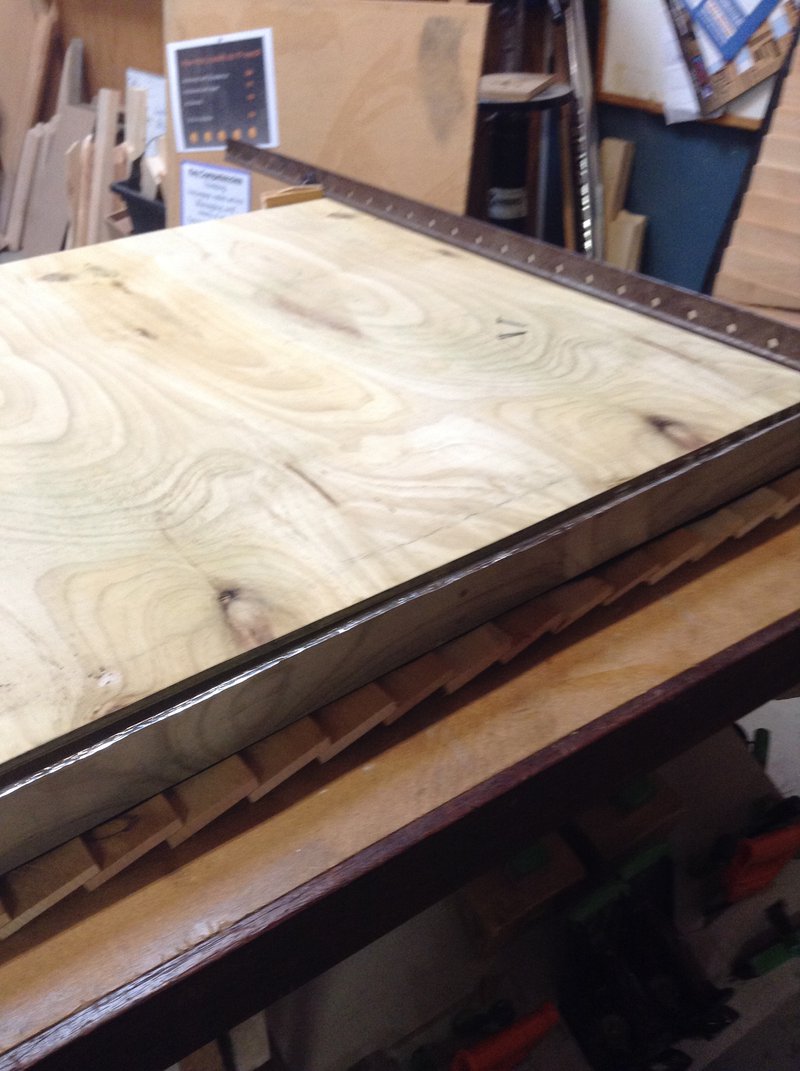
After the simulation was applied we attached the inside wall. To do this we measured the wall and cut the timber to the right size. We then placed it on so that it could be inline with the sided. Once it started to line up we tacked some nails in just so it could be held in place. But when we looked at out walls it didn't line up correctly so we pulled out the nails enough so we could move it and got a large square and place din on the side of the wall. From this we could see that it was out and we got some clamps to pull in the frame because the frame has slightly come out and we needed it to be pulled back together. Once this was done and the wall lined up with the frame we nailed it all together.
Image of the square helping us line it up sen below
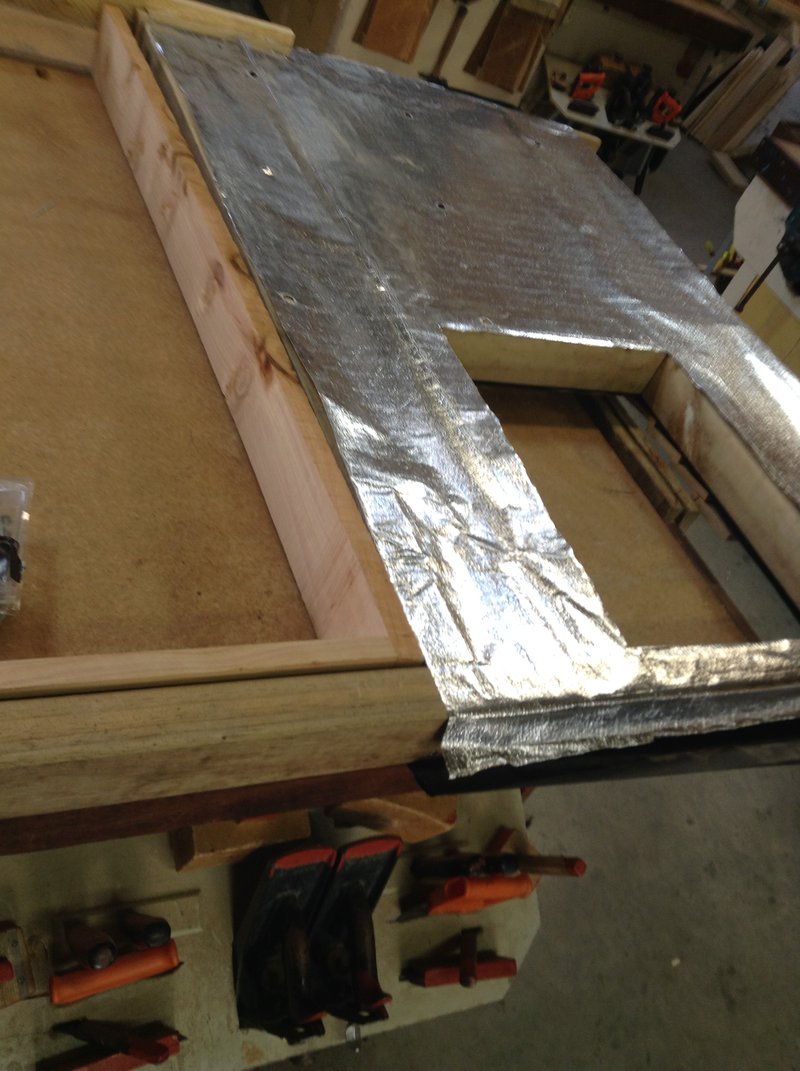
We did this for the 2 small walls and the back wall. The front one was quite similar but the window holes needed to be cut out of the sisalation . We did this by stapling the sisalation and then finding the window location and cut out the holes using the inside of the windows as a guide. Once the sisalation was done we lined up the wall and tacked it on.
This can be seen below
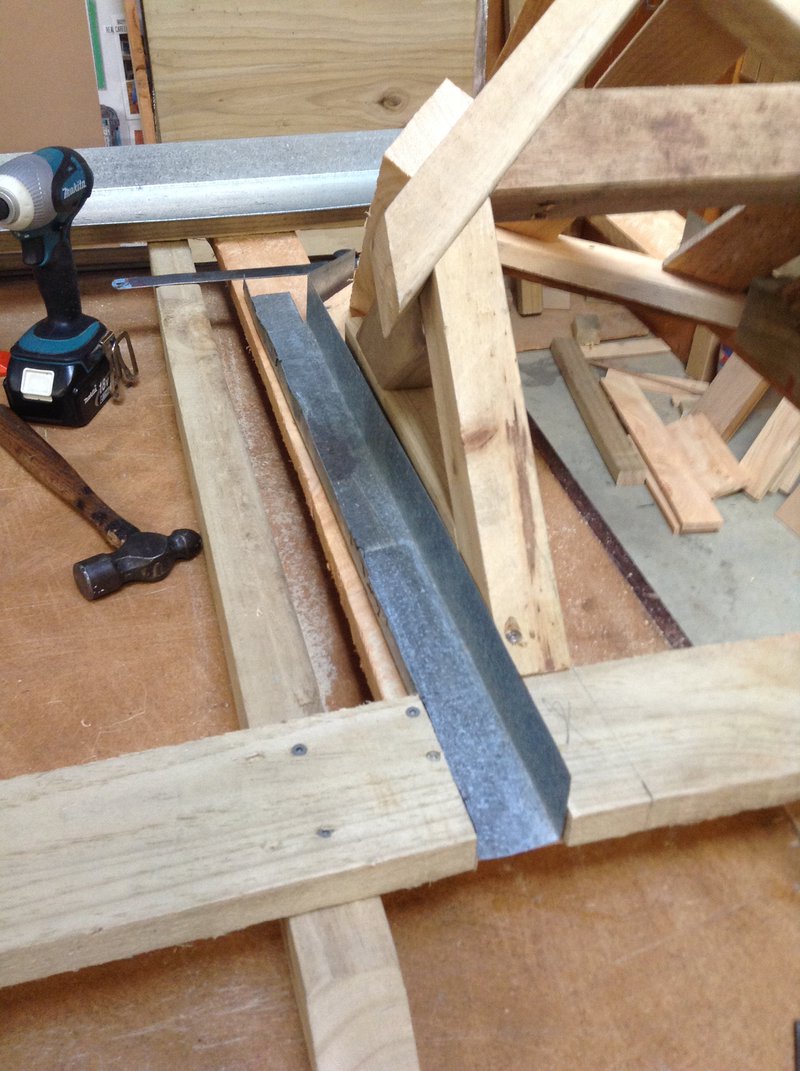
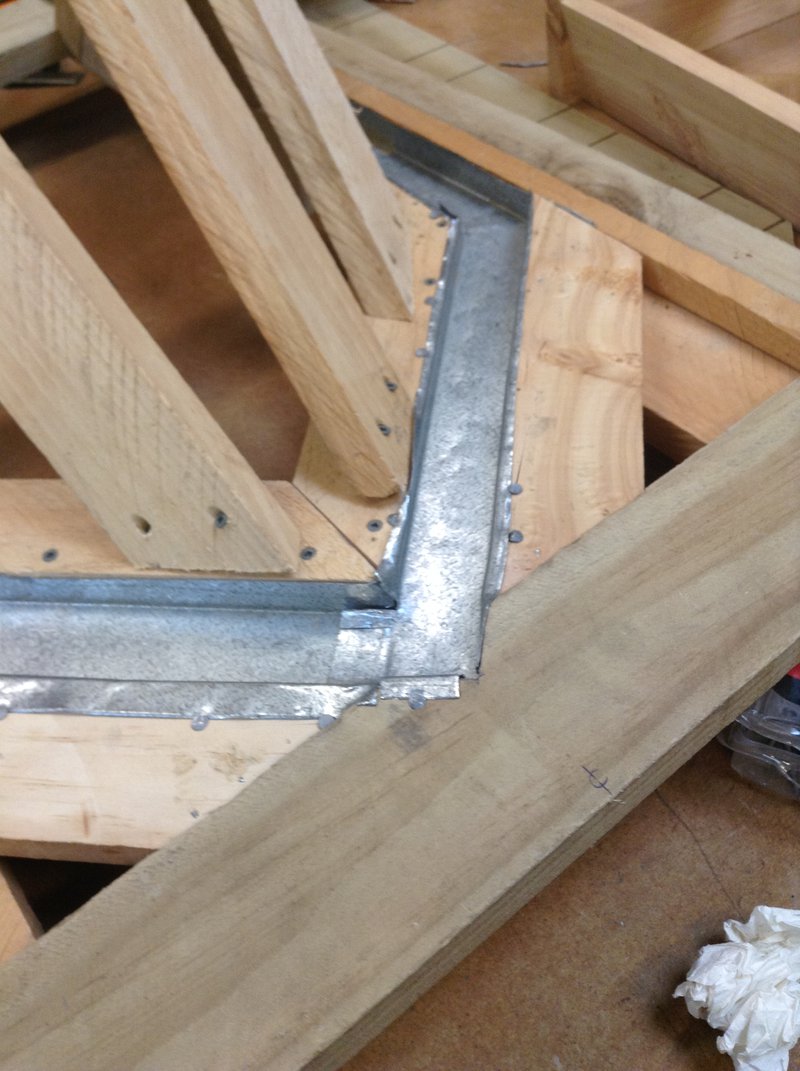
We also started to work on the flashing's for the roof this week and finished them. We had to bend and cut the metal so that it could fit in the proper location. We also had to think of was that it could be connected. It took some time to get the metal fitting properly but we managed to do this in a timely manner.
Below you can see one of our flashing's in progress and our finished flashing's for the side.
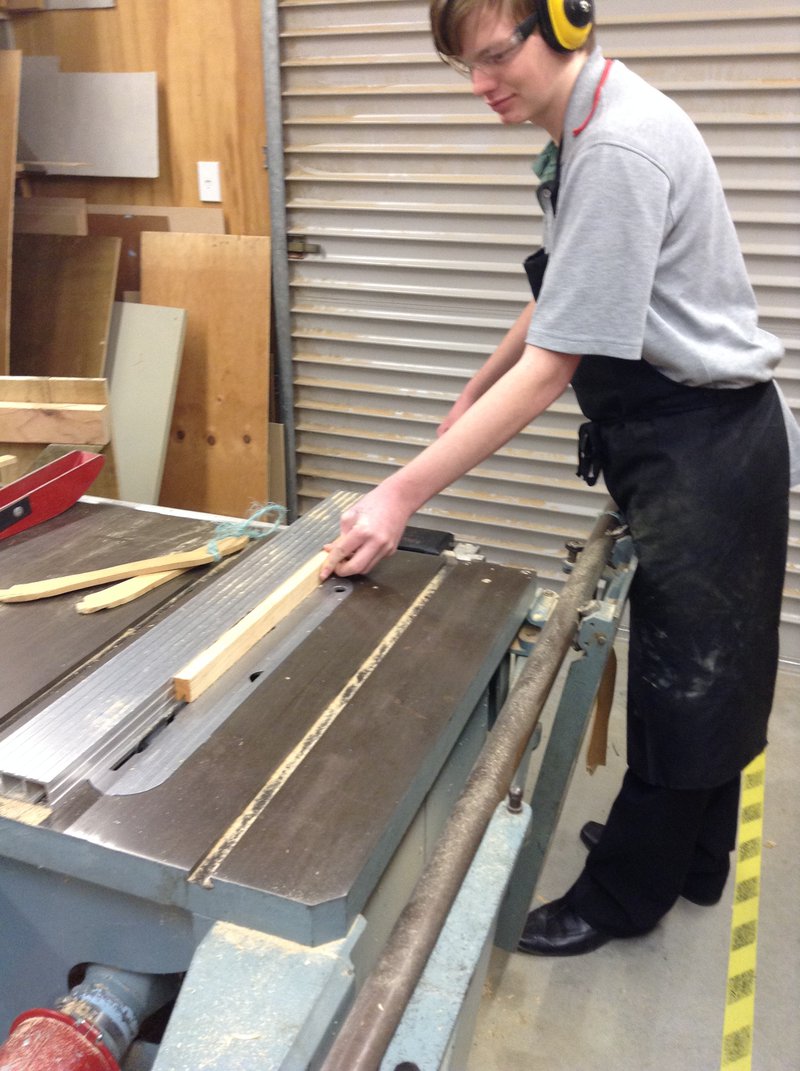
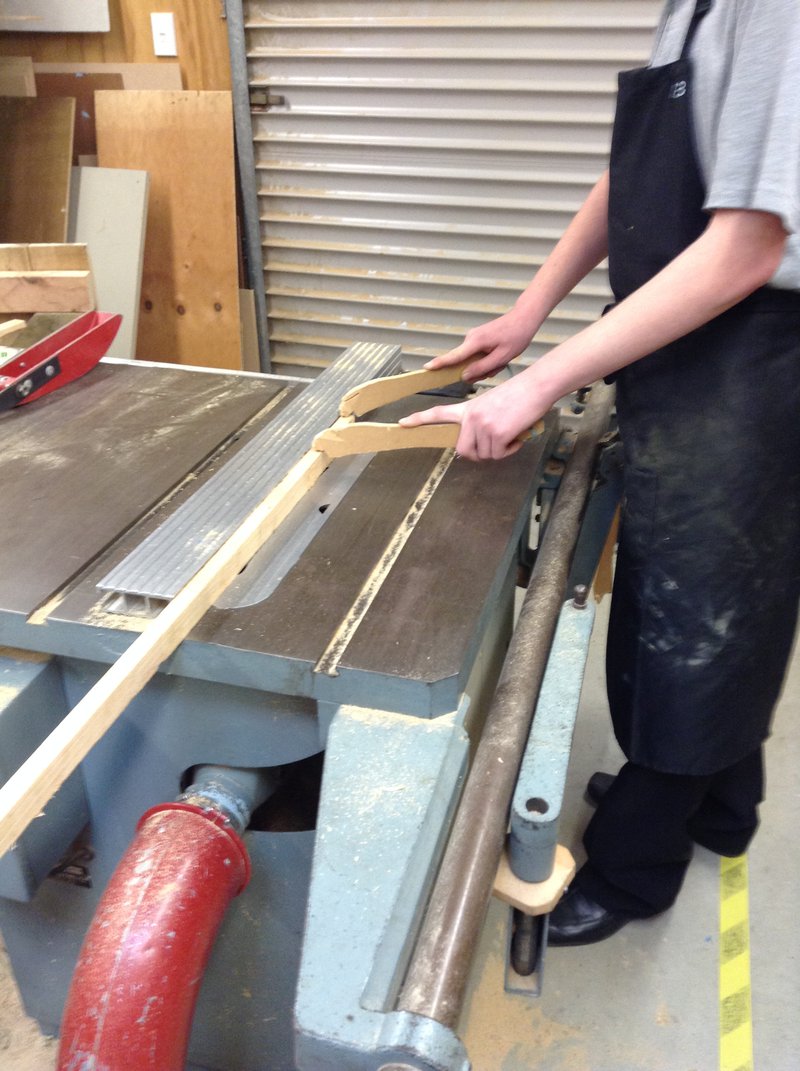
Once the walls were insulated and put together we started to make the frames for the windows. To do this we thought about how much timber we would need because we were making the frames for the windows and dormers. When we found out the total length needed we cut the middle out of the timber so that there would be a space for the plastic window.
Seen below.

If you're considering a career in building and construction, create a BCITO work profile. We'll do our best to get you an apprenticeship when you're finished school.